Twinkling Toadstools
Posted by Sharon Oldfield on
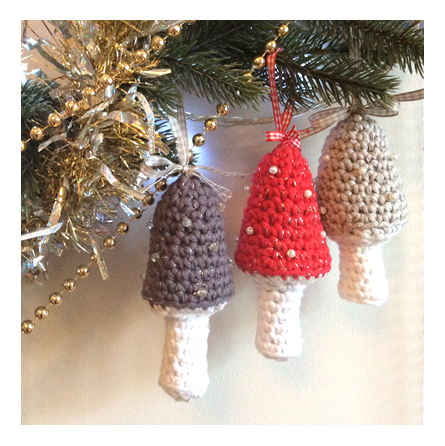
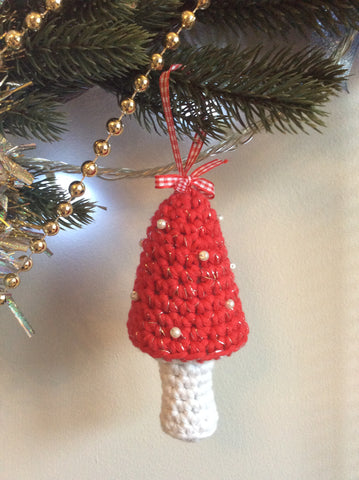
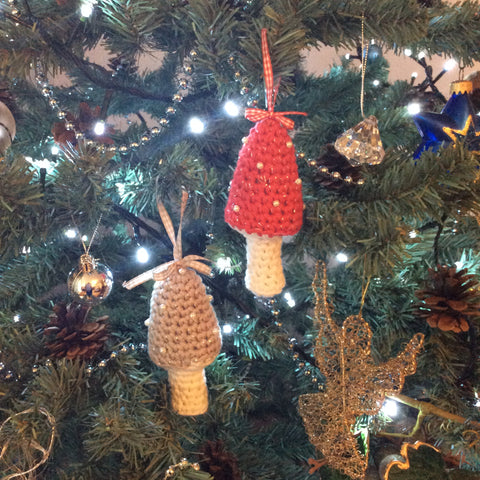
Well I really must apologise for taking so long to add a new post to my blog! As it's been so long I'm celebrating getting back to my little sharing space with a free pattern for some glittery, festive toadstools for your Christmas tree! We've been having fun making them at the studio (Stitch Studio Ramsbottom) during our Christmas Crochet Workshops, so I hope you enjoy them too!


So here goes with the pattern!
Pattern Notes

 Pattern is written in UK crochet terms.
 Yarn: Small amounts of DROPS Paris (see all colours available)
I used approx 8g of each of the following colours per toadstool:
- Light Grey (colour 23)
- White (colour 16)
- Dark Grey (colour 24)
- Red (colour 12)
 Materials:
- DROPS Glitter (optional)
- 4mm pearl beads
- 5mm ribbon
- toy stuffing
- sewing needle and thread
 Hook size: 4 or 4.5mm hook
 Other equipment: Yarn/darning needle, small scissors
 Abbreviations:
- ch chain
- dc double crochet
- 2dctog 2 double crochet together
- st stitch
- sts stitches
- yo yarn over
- ( ) brackets outline a group of stitches, they often all go in the same place
- [ ] these brackets contain the number of stitches to be found in each round
Stitch Information
Working in a spiral – this pattern is worked in a spiral. To help keep count, place a stitch marker in the first dc of each round. In the subsequent round your first stitch will be placed where the stitch marker is. Again, mark this first stitch.
2dc (inc) – increase the number of stitches by inserting two double crochet stitches into the same stitch
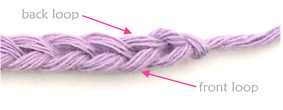
Front & back loops – each stitch has a front loop and a back loop. If you crochet into the back loop only you can create an edge in your crochet.
2dctog (dec) – decrease the number of stitches by double crocheting two stitches together as follows:
- Insert hook, yo, pull loop through, 2 loops on the hook
- Insert hook into next stitch, yo, pull loop through, 3 loops on the hook
- Yo, pull yarn through all three loops in the hook
For an invisible decrease, insert hook into front loops of both stitches then yarn over and pull through two loops. Yarn over and pull hook through both loops on the hook.
The Pattern ~ Toadstool Cap

Work with the Paris yarn and the Glitter held together.
R1. Make a magic ring, 6 dc into the ring. [6sts]
R2. (2dc into the next st, 1dc into next stitch) repeat 3 times [9sts]
R3. (2dc into next st, 1dc into the next 2sts) repeat 3 times [12sts]
R4. 1dc into each st [12sts]
R5. (2dc into next st, 1dc into the next 3sts) repeat 3 times [15sts]
R6. 1dc into each st [15sts]
R7. 1dc into each st [15sts]
R8. (2dc into next st, 1dc into the next 4sts) repeat 3 times [18sts]
R9 - 11. 1dc into each st [18sts]
R12. (2dc into next st, 1dc into the next 5sts) repeat 3 times [21sts]
 Change colour: introduce the new colour when you do the final yo in the last dc stitch of round 12.
Toadstool Stem

R13. Work this row into the back loops only. (2dctog, 1 dc into each of the next 5 stitches) 3 times [18sts]
 Stuff the cap of the toadstool.

R14. (2dctog) 9 times [9sts]
R15 – 20. 1dc into each st [9sts]
 Add stuffing as the stem grows, use the end of your hook to push the stuffing into the cap so that the cap flares out at the bottom. Shape the toadstool as you go.
R21. (2dc into next st, 1dc into the next 2sts) repeat 3 times [12sts]
R22. Work this row into the back loops only. (2dctog into each stitch) 6 times [6sts]
Finishing Touches
Fasten off, leaving a tail of 30cm.
With a yarn needle thread the yarn through the final 6 stitches and pull together. Take the needle through the centre of the stitches, right through the middle of the toadstool and up through the centre of the cap. This should help flatten the base of the toadstool. Use this yarn to create a hanging loop or to sew spots onto the toadstool cap.
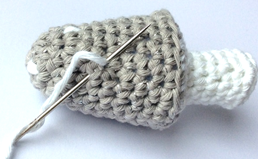
Alternatively, rather than sewing your spots on with your tail end, fasten off the yarn from the stalk and sew pearl beads on to the Toadstool, for a bit more shimmer and shine!
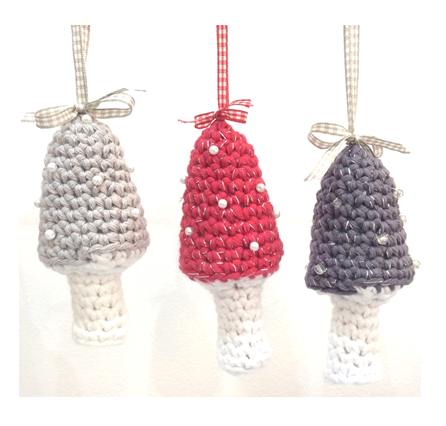
Finally, thread 5mm ribbon through the top of the Toadstool and tie a bow to secure.
Toadstool Gallery


Toadstool Pattern

Share this post
0 comment

